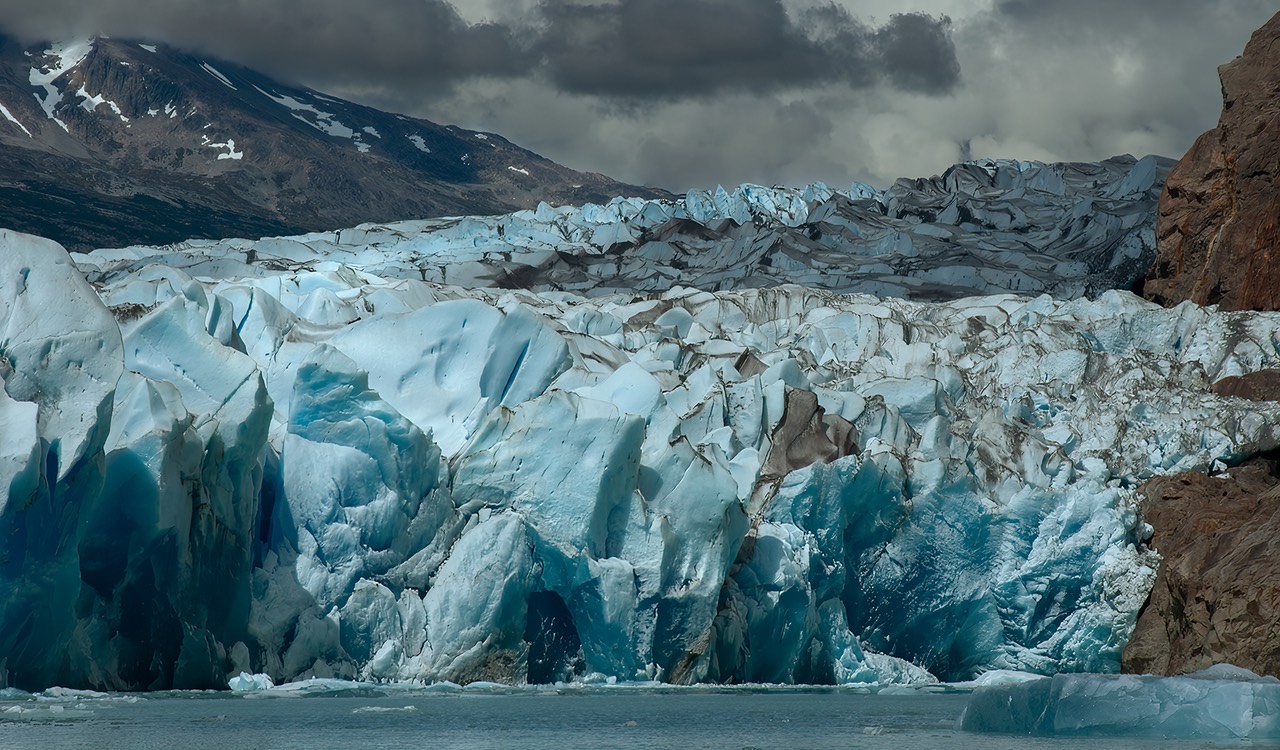
In a News/Views article, I touched upon making images with a bit of 3D to them. Let’s examine some photos:


These photos have depth to them. In several ways.
Start with focus: the trend, partly because of smartphones and their small image sensors, is towards huge depth of field. I often get asked how to put everything including infinity in focus with full frame cameras. Others ask me how to use focus stacking to put everything from one foot away through infinity in focus. I’m reluctant to answer either question because you basically take a 3D subject (reality) and make it even more into a very flat 2D construct (photo on wall). You’re erasing depth cues if you keep trying to put everything in focus.
Depth also works in other ways with our eye/brain system. We focus, just like lenses, at only one distance. The difference is that we contract muscles around the eye to change that focus distance constantly, and we do that unnoticed. Thus, we think we see near to far in focus, but that doesn’t happen in one moment of time, it happens over time. Our brain tricks us into thinking we’re seeing near/far in focus simultaneously, but we’re not.
While you’ll see different variations on the numbers—partly because our eyes also move up, down, left, and right, partly because everyone’s eyesight has variations—at any given moment your best acuity (detail) is in about a 20° arc at the center of your field of view. That’s because retinal cells are densest in the center. You distinctly recognize shapes at out to about a 60° arc. You can see color through perhaps a 120° degree arc, and motion—essentially peripheral vision—through around 180°. But it doesn’t really matter if these are exact numbers. If you hold your eyes steady on a point, your view is just like older lens designs: excellent in the center, not so good as you move towards the extremes.
What most people describe as “3D look” in photographs is really that: limited depth of field targeting a central subject with high acuity, but less acuity as you move outward. Hmm, just like our eye/brain works.
But there are other “depth” cues, too. One is color depth. Unfortunately I have to assume least common denominator on this Web site, so the image engine function I use shows you 8-bit 4:2:0 color on this site. You might have noted the recent appearance of HEIF, particularly HLG versions. You’ll have to take my word for it—or seek out a well-executed image on an appropriate HDR monitor—but 10-bit 4:4:4 adds “depth” to an image in a different way than focus. sRGB is a less depthful Color Space than AdobeRGB or P3. In essence, colors get “compressed” and move towards cartoony the smaller the color space you use. (You might notice Adobe’s use of the word “perceptual” in some color settings. As we reduce color information, a good product will try to keep it as visually lossless as possible, but loss is loss.)
Just to be clear, as a corollary, a monochromatic image—particularly one with a narrow tonal range—tends to have the opposite impact as visual depth. If your intention is to take depth out of an image, you can do that by reducing the color set and squeezing the tonality into a lower contrast. It’s actually in black and white photography where I do attempt to get strong depth of field.
Besides focus and color depths, we also have natural constructs that are useful to add depth. Each of the above photos uses a slightly different approach: the top one is about things in front of other things (overlap), while the bottom one is all about using focus to isolate. The middle one uses what I call a “floor” and a “ceiling” to hold you into the glacier, and lines within it suggest the depth. A lot of subtle burning and dodging was done to help emphasize the way the light was already playing on the surfaces.
I’ve long been an advocate of not taking important visual cues out of my photos. I leave infinity out of focus (unless it’s the one thing I want you to concentrate on). I work the outer areas of images in lots of ways, including vignetting, to trigger our usual eye/brain response.