I'm known as a "tight cropper." Something about "only show what you want your viewer to see, and no more." That was instilled into me by a number of mentors along the way, but there are plenty of nuances that come up. Consider this photo (taken with a film SLR), for instance:
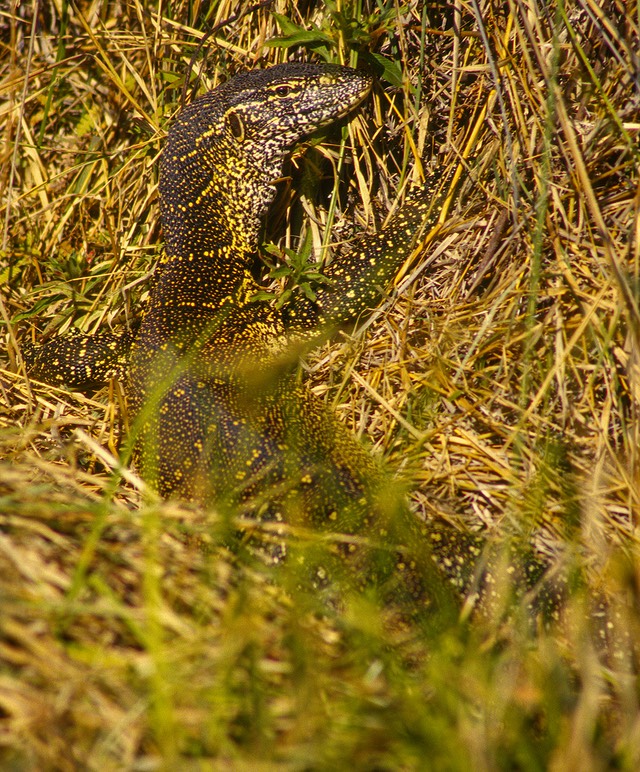
Obviously, I've cropped it, as it isn't the normal 3:2 aspect ratio.
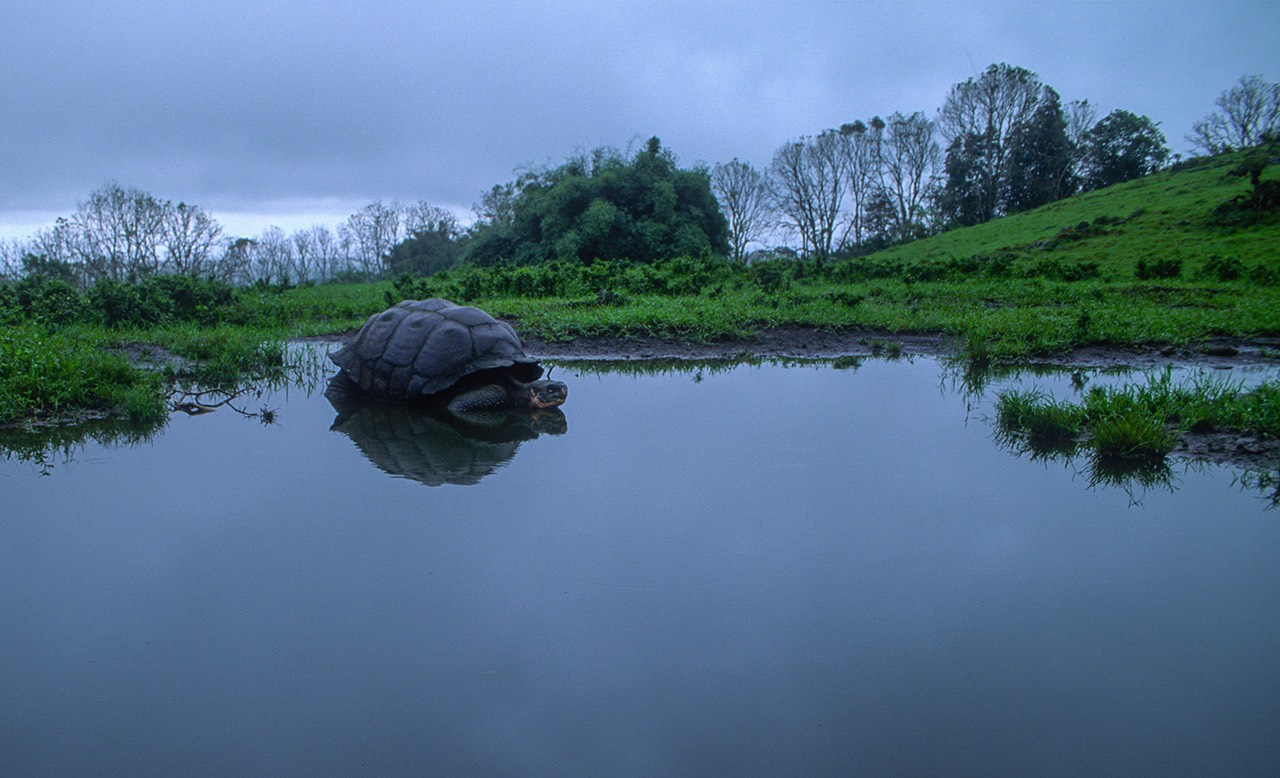
One nuance that comes up is that sometimes you can't get your photo perfect in camera. In this particular case, I was by myself in a canoe, and there were two limitations: how close I could get the canoe to the shoreline without disturbing the animal, and what lens I had on my camera (70-200mm). As it is, the full slide frame only adds a tiny bit to the left edge and a bunch at the bottom to my final crop choice.
Which brings me to another nuance: generally you don't crop a person's or animal's parts unless you're doing it at a well-established location, or you have motivation to do so (an upcoming lesson). The monitor lizard in the above image has a long tail that extends out off the lower right frame. But that area was blocked by reeds, so it the visibility of the tail is almost completely masked in the area I cropped off.
Normally, I tell students to either "crop at well-established body points, or include the full person/animal, even if that isn't visible due to something blocking it." Of course I also teach that rules aren't rules, they're just things that you do most of the time because to violate them can create a visual dissonance that registers subconsciously with the viewer, making them like the image less. The above image is also about the monitor lizard basking in the sun, and nothing about whatever pixels I had of the long tail actually reflect that.
Thus, one way you resolve cropping choices is to fully understand what it is your picture is about and what you're trying to convey. If you have pixels that don't support the intent of the photo, it's likely they should be cropped away.
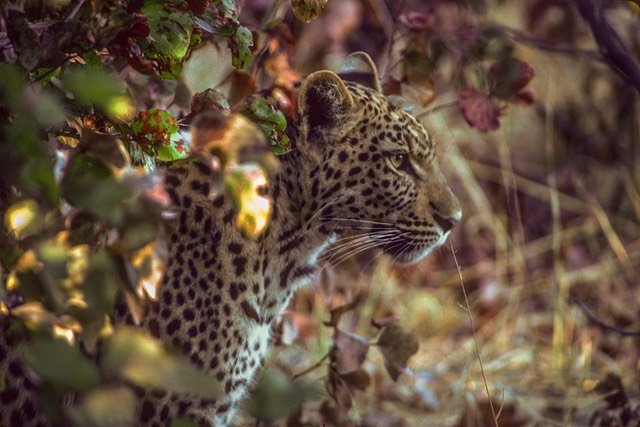
For example, here's an image of leopard trying to blend in but poke its head out to be able to see potential prey. We don't need the full body. We do need some concealing brush plus an indication that the leopard is looking outwards into an open area, thus my framing (this is pretty much the way I took it back in 1994; again a film SLR image).
Notice again that I'm not showing the entire body (or even feet). This is all about the head poking out, thus one could argue I could crop even tighter. However, the above image is what I took thinking about it in the field (again with a 70-200mm).
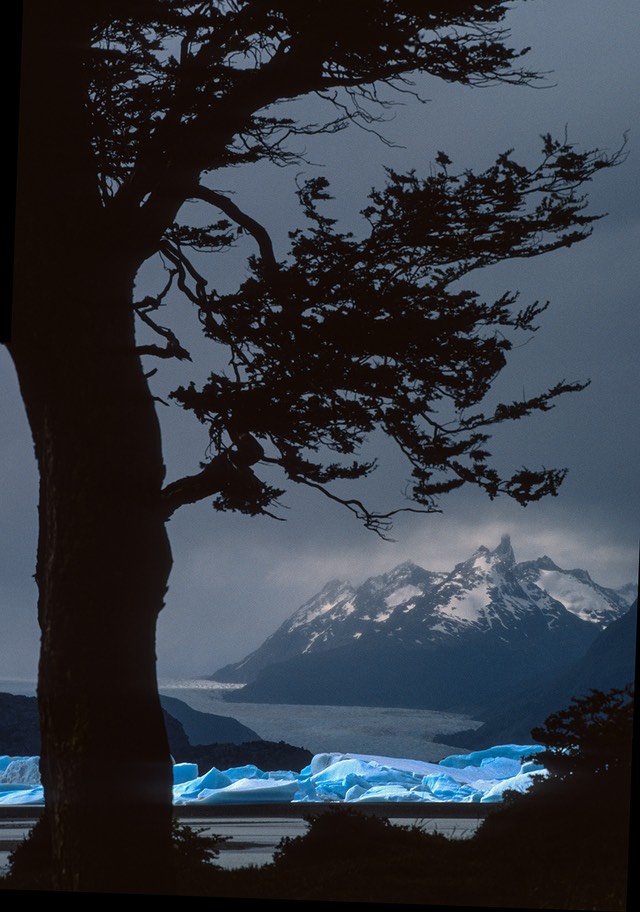
Here I've used the foreground as a framing device on the background (hmm, 70-200mm again; also film). I have similar photos where I moved past the tree and just concentrated on the peak plus the glacier and lake below it (Gray Glacier, Torres del Paine, by the way). But "just a thing"—peak and glacier—isn't quite the same as "place."
So another nuance of cropping is at what point does your image become something more than "thing."
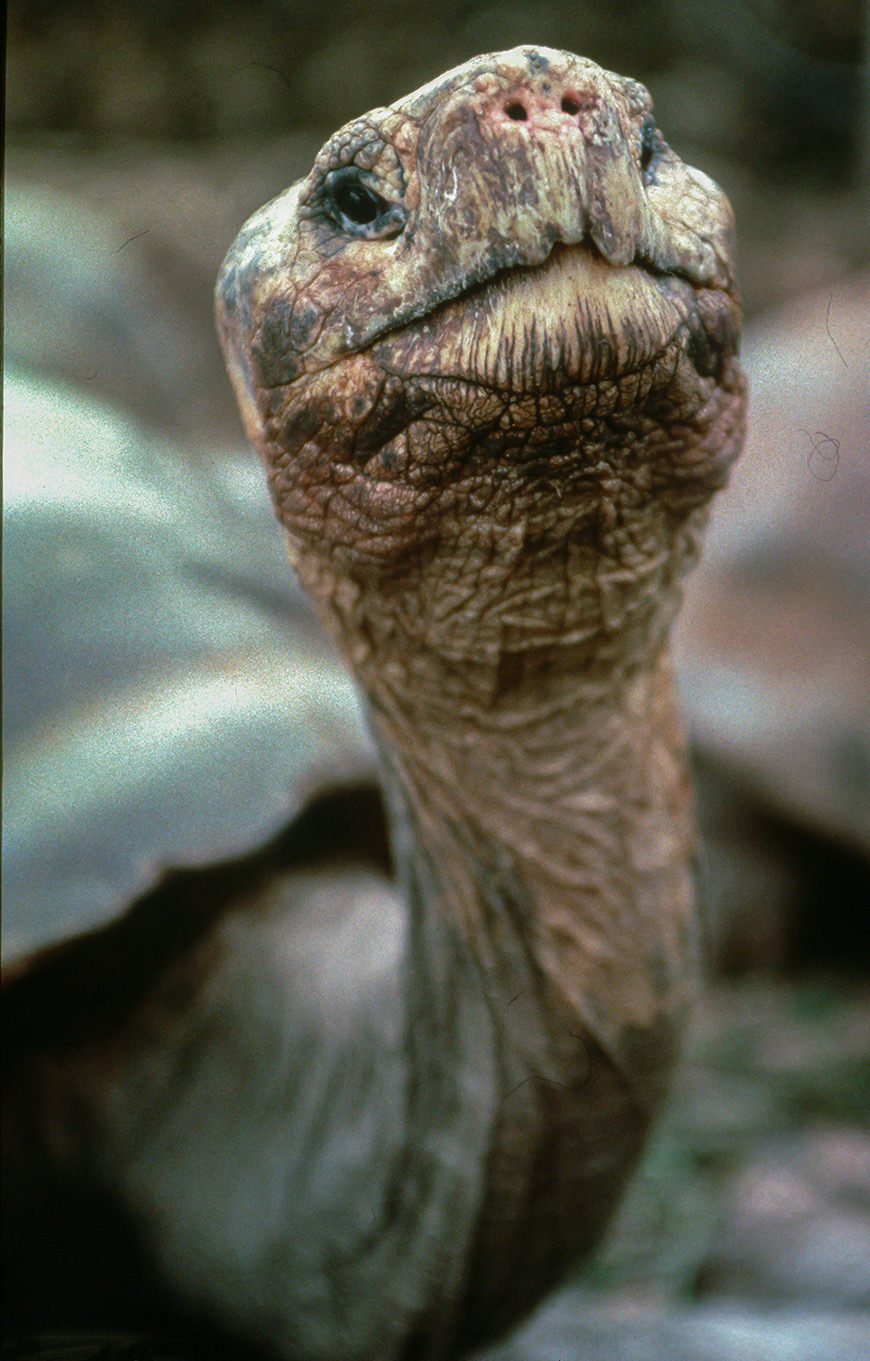
Here's a "thing" image:
Here's a "place" image (of the same thing):
I'll try to go into more detail in a later lesson, but for today I want to put just one very important idea into your head: you can't crop unless you know what your photo is about. That seems like one of those absurd simply ideas, but I can't tell you how many times I've been working with someone and we can't get to framing/cropping because we haven't established what the photo actually is.