Aug/Sept ??—Hmm, I seem to be out of sync with the real date. Long trips have a way of doing that to you. I thought I was writing blog entries every day, but I couldn't even tell you what day of the week it is today. And I promised you more yesterday, so we'll just call this a bonus day and try to get everything back in sync when I actually check the calendar again tomorrow ;~) [Why would I check the calendar tomorrow? Because the South Africa workshop is winding up and I need to double check my connections out of here and up to Botswana for the second workshop.]
You may remember the IR trap system I set up and want to know what happened, so let's get that out of the way first. Upon arrival back at the setup (a bit less than a mile from camp) I looked down at the animal path as I walked up to the rig and there was one clear track in the path: duiker (small form of antelope). As I walked through the trap, the camera and flash fired (as it had when I walked out last night). Cool, everything is still working.
Examining the camera, it was a bit moist from dew, but otherwise untouched. So I press the Playback button and, yes, there's the picture it just took of me entering the trap, press back and...there's the picture of me exiting the trap last night! What, no duiker? I went back over to look at the tracks. Literally six inches from the beam there's a duiker print in the middle of the path. It does appear that the duiker was running, not walking, judging by the separation of the individual hoof prints and the way they're formed (some slight kicked up dirt behind them).
Somehow Mr. Duiker managed to go through the IR trap but with his legs up high enough that he didn't trigger the beam. For those of you thinking about doing this sort of photography, there is an answer to this problem. I just didn't bring it to Africa with me: use multiple IR triggers. The Stop Shot system I use can support multiple beam triggers and trigger on one or multiple beams being triggered (and again, at beam break, at beam restoration, and with a host of other variables). When you're not sure from which direction an animal might enter and/or leave your target area—hummingbirds or bees are a good example—multiple triggers are often necessary to get the shots you want. Same thing when you're dealing with animals of multiple heights. But my whole goal here was to force the animal to walk through a narrow area, so I didn't think I needed the extra IR beam. Well, I guess I need to think again.
With this blog entry I'm going to try to catch up with some of the images I've seen in image reviews so far and bring you up to date. [I made some notes here during the trip, but much of what I write during the rest of today's entry will be post mortem, i.e. after-the-trip commentary imposed on during-trip writing. I've been doing a bit of that here and there through the blog so far, but what follows is mostly post mortem writing, just so you know.]
One of the recurring problems we've been discussing is the animal-at-sunrise/sunset problem. Here in South Africa, the brush and trees are dense, so you never get those clear views that allow you to silhouette an animal against the sky. It seems that elephants are the easiest animal for us to catch first thing in the morning, and they pose some particular problems, as you'll see from the next few shots:

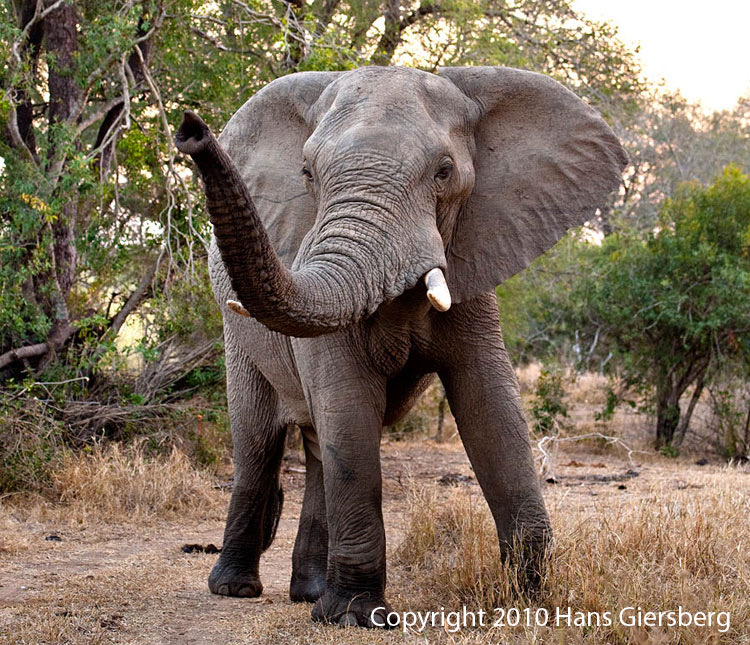
Tony and Hans went different ways here in the early morning light. Tony has chosen to try to hold the sky and then deal with bringing the elephant tonal values up to something decent in post processing, but note how the elephant's eyes seem to disappear. Hans has picked an exposure that's good for the skin of the dark elephant, but now the sky is lost, as is part of the tusk. There's really no perfect answer. You can't usually do HDR in these situations reliably, because the animal and perhaps your platform are moving. Even if you did HDR or had a camera that could capture the dynamic range of these morning shots, you'd still have the problem of trying to properly place the tonal values. Dark is dark and bright is bright. You can't go too far in changing either of those before it starts to look wrong to us.
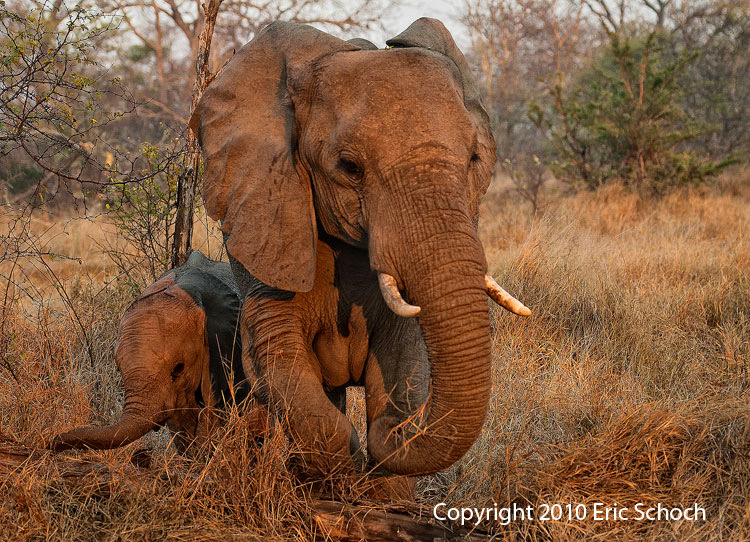
One possible solution is to watch the direction of the light. Eric is shooting away from the sunrise, so that the front of the elephants are lit by the early morning sun. Yes, this loses the orange sky, but you can still tell this is edge of day from the warmth in the lighting. [Note: I'm not dictating or doing anything about how the students post processed. Thus, you'll see some differences in opinion in color balance and other choices. That's an entirely different workshop ;~); here we're mostly worried about acquisition of images.]
Tony happens to be my assistant on my long workshops, but on this particular workshop he's a student. One thing we haven't yet discussed so far in this blog is birds, and Tony's particular interest is in bird photography. It's where he acquired most of his training, and it shows:
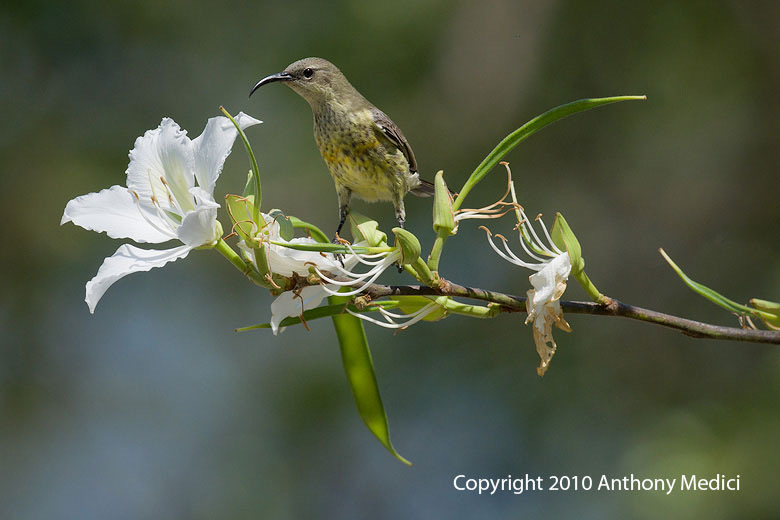
But I want to throw in one particular bird, because it will come up big time in the Botswana workshop (and was a moderate diversion in the South African one): the lilac-breasted roller. These things are ubiquitous in Southern Africa, they are knock-your-socks-off colorful, and they're, well, shall we say very difficult to photograph other than as bird-on-a-stick, like the bird above. I want to include one of Tony's South Africa workshop shots here because he caught the reason why it has its name (roller):
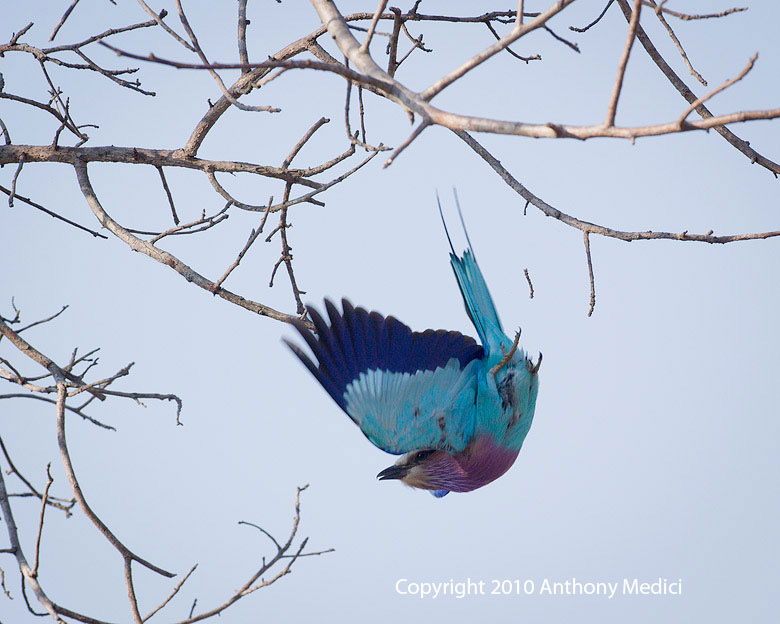
Note how the legs have rolled up to one side of the body. The roller does this, back and forth, from side to side, as a courtship ritual. But here's the diversion: try photographing a roller in flight. Any flight. They are gorgeous in flight as well as sitting in the sun, but if you look up lilac-breasted roller on the Internet, you're going to find one heck of a lot of bird-on-a-stick images, and very few in-flight images. With Tony along on the trips, I knew that it was only a matter of time before getting flying rollers was going to be one of the challenges everyone was going to try at some point. First, because Tony will usually stop his vehicle at every bird he sees, and that's a considerable lot of stopping in South Africa. Second, because the minute you see the colors in this bird, you want to photograph it. Third, because when you fail at getting it flying off, you ask the workshop instructor what you're doing wrong ;~). (Maybe nothing; they're hard to photograph, but we'll deal with that in Botswana).
But there's another teaching point here, too. Amateurs tend to go to Africa to shoot animals. Professional photographers go to Africa to shoot animal behavior. To do the latter, you have to really know the animals, which means you usually spend time researching them before the trip (see next paragraph ;~). Indeed, on safaris, amateurs need to learn to listen to the guides, drivers, trackers, and yes, photo instructors. If they listen well, they'll hear about these animal behaviors as they're seen. It's better, of course, if you know about them before you come so you can think about how (and when) you'll capture them. But second best is to ask questions and keep your ears open when the people you've hired are talking about the animals. I'll often state out loud what I think an animal is about to do, and I'll often ask my driver/tracker about their expectations. You have to be a good listener if you want to pick up these small tidbits. You also need a good memory to be able to file them away and then retrieve them next time you encounter that same animal.
Our final stop on our bonus day is a little giraffe fact (and another animal behavior) that I didn't know of before this trip. Giraffes eat bones. What?!?! Yes, giraffes eat bones. They'll find an old carcass, usually with some smaller bones, and then spend a lot of time chewing on the bone to get calcium. Here's what that looks like in action:
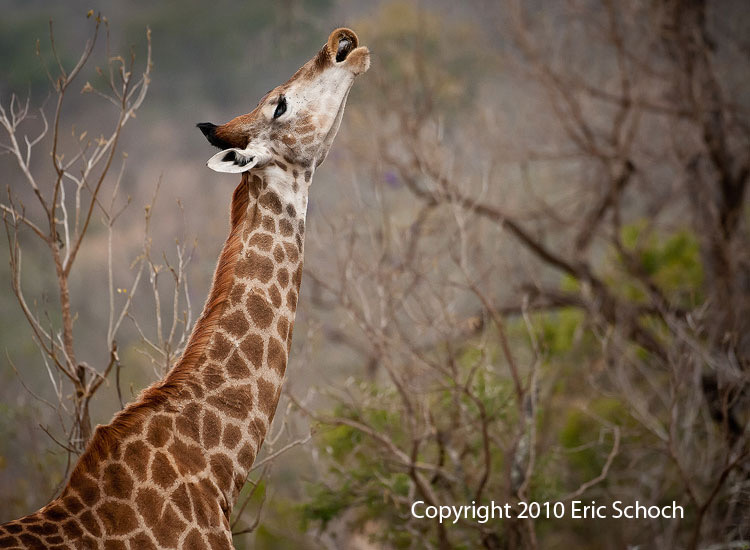
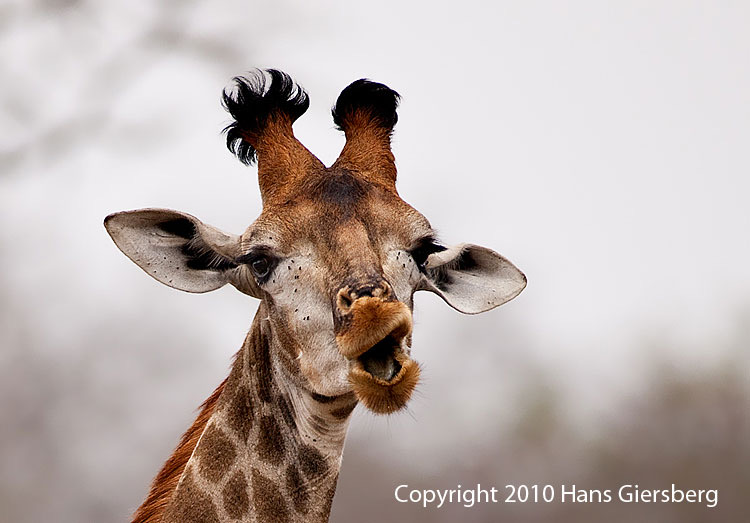
They don't do this often, but you'll know when they do, as it takes them a long time to break down the bone and swallow the small bits. You'll hear the crunching, and you'll see this sort of neck action as they try to get some of the bone down the neck. Normal giraffe eating (of vegetation) is side to side with the head parallel to the ground:
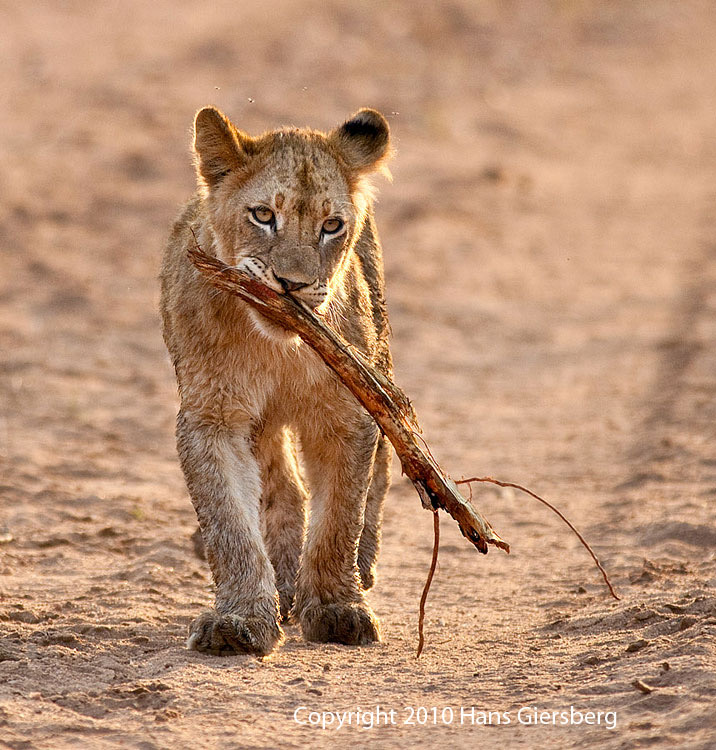
Finally, some more foreshadowing (prepare to cry tomorrow). This little fellow has proven to be quite a handful and a constant story going on behind the scenes of our trip. Hans (and a few others) caught one of those odd-but-interesting moments, as he brought a stick up to his parents: