Aug 26—We're in the Tsitsikamma. That's a Khoi (local tribe) word meaning "place of abundant or sparkling water." It's also one of the few areas of indigenous and old-growth forest left in South Africa, mostly because those steep ravines of water slashing down to the sea kept the loggers from getting wood out of the area.
The National Park was created in 1964 and still has that 60's US park feel to it, right down to the cabins you can rent in the park (think Yosemite). The park itself is perhaps 40 miles long and only a few miles deep along the ocean, but when it was created it also included the marine reserve, where at various points in the year you'll find dolphins or whales motoring by.
Within the park there are many objects of interest, especially photographically, including the infamous Shooting Rock (water breaks into it and splashes up high in the air basically yards away from the main parking lot). Hikers will find the Otter Trail of interest, and much like the ocean trails in Olympic National Park in the US, Otter Trail runs the length of the park along the ocean.
And it's on Otter Trail that we make our first walk and start really working on scenics. Because there are so many attractions here, we split the group into two, with part of the group following Lanz up to the waterfall a couple of miles up Otter Trail, and me leading those that wanted to work the shoreline. Here's what the waterfall group were working with:

We shorebirds didn't get very far very fast, as we found plenty to work with within a short walk from the bus. As typical with me on a shoreline--my former Hawaii workshop students can all vouch for this--I was soaking wet within minutes. That's because Hans and I decided to try working a small tidal pool that was being fed by the water surge at low tide.

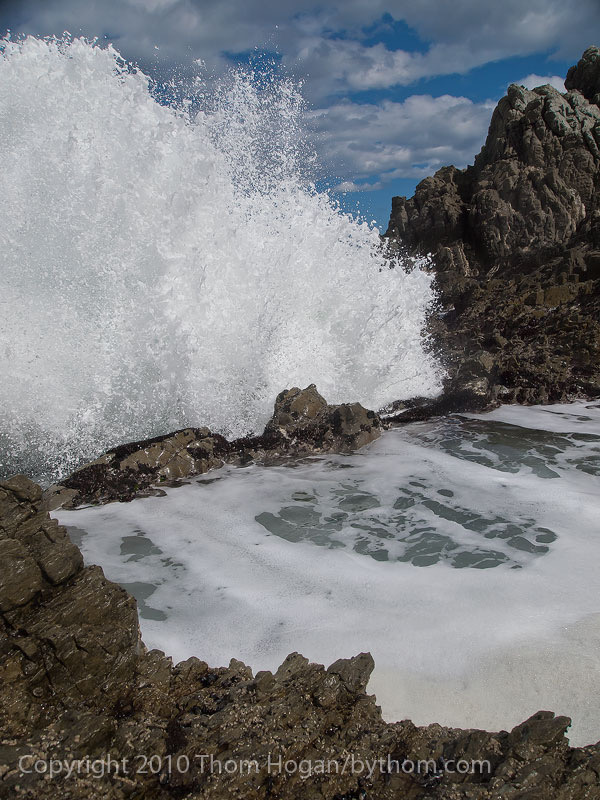
When you look at the photos, you'll think the waves generating the upward lifts must be mammoth. They weren't. In fact, they were the most timid I've seen here, as the seas were relatively calm. I'd say the waves and swell were no more than three or four feet. It's just that the shoreline consists of lines of granite and other material that thrust up nearly perpendicularly to the wave action. So even a four foot wave hitting these features tends to get forced upward into as much as 20 and 30 feet blasts. At low tide and with calm seas, the area we were working gets a lot of vertical water thrust. (At high tide or high seas, the waves break completely over the ridges on the shoreline, which is also impressive, but it doesn't create the "shooting effect" that Hans and I were photographing from up close, and others were shooting from a more respectable distance.
The challenge is to get a photo that feels like the wave is right in your face and overwhelms the horizon line. That means getting close and low. While our position wasn't dangerous--we were in no danger of getting swept to sea other than a massive rogue wave, which we probably would have seen early enough to gain ground behind us--it wasn't without hazard. And that hazard was that every now and again the remnants of the shooting wave would shoot right up to us, or in a few cases, over us (note that the rock in the foreground of my shot is wet). So you have to keep high recognition of what's happening around you and be able to respond quickly. Several times I found myself taking the shot and quickly turning my back to the water while protecting the camera from getting the brunt of the sea water. And so I found myself quickly wet from head to toe. (For those that want to know, I was shooting with the Olympus E-P2 here, and it definitely was sopping wet by the time I was through. It survived, though.)
Usually when I photograph shooting water like this I go for the "fireworks effect": use a longish shutter speed to get streaks of water arching up and out. Today, I decided to work more towards stopping the water and trying to catch the individual drops that form at the front of the motion. With water, I usually tell students that you have to freeze it or flow it. Shutter speeds in the range of 1/30 to 1/250 generally don't produce great images with moving water: the moving water just looks like you missed focus or shook the camera, as the movement in the water is slightly visible but not defined. So, if you work with moving water, remember that you have to freeze it (typically >1/250 shutter speed) or flow it (usually <1/30 shutter speed). The actual speed you need will depend upon the speed of the water, so make sure to experiment. That's one of the joys of the digital era, you can make that experiment and check the results immediately.
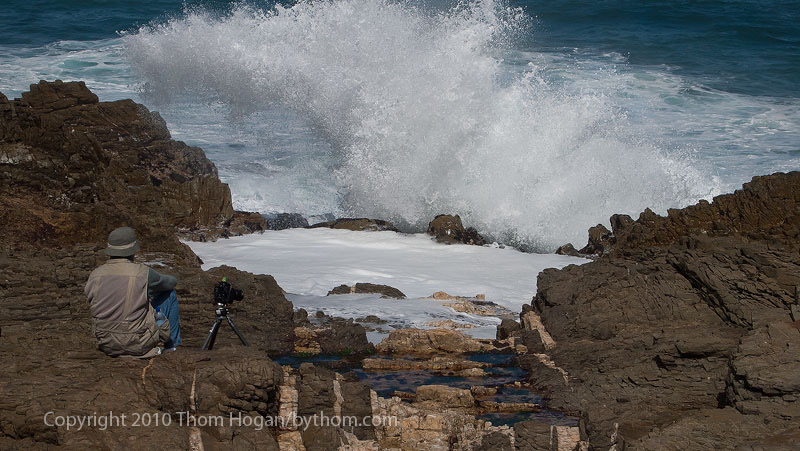
So that you get some perspective on the size of things, here's where Hans was (I was far forward and to the left of him most of the time, just at the left edge of the tidal pool—this splash would have gotten me very wet):

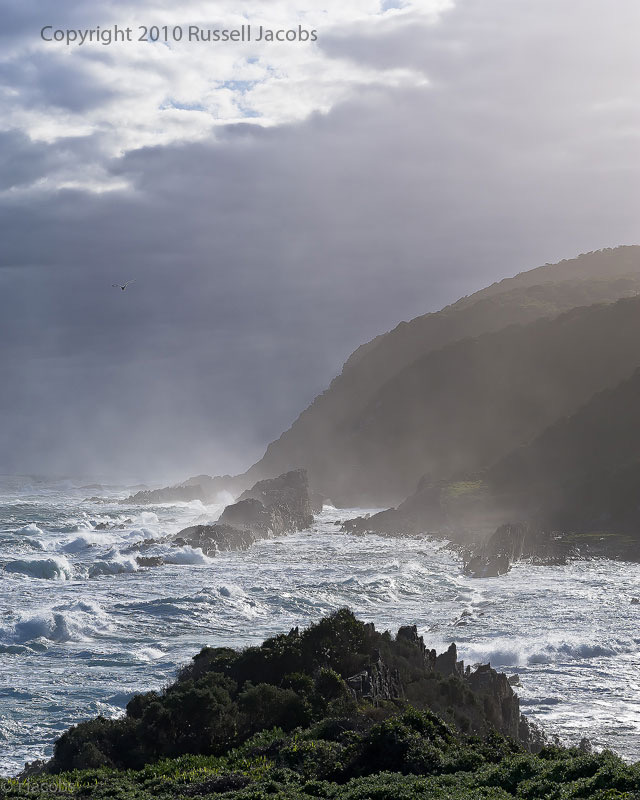
The shoreline at Tsitsikamma we were working was so compelling that even when the other group returned from the waterfall, we ended up continuing to work the same basic stretch most of the day. Here's what things looked like later in the afternoon:

We finally got to lunch at 3 pm, which seems to be a pattern we've now established. We also never got to the second location I had planned here in the main part of the park, so we'll try to fit that in tomorrow. Personally, I'm pleased when students find a location so compelling that they aren't willing to leave. Better the scenic in the hand than the two in the bush.