Today we're going to discuss how you take wildlife photography beyond just reference images.
What’s a reference image? Basically what you’d find in a generic encyclopedia entry: a full body shot of the animal doing nothing, with nothing between the animal and the camera.
From there, we get to portrait shots:
The animal portrait is the usual thing I see students attempting most of the time. This either involves getting close or using a really long lens (sometimes both). There's nothing wrong with this kind of shot, though it gets repetitive very fast, and unless the animal does something with expression, you end up with a photo that looks the same as everyone else's.
Most budding photographers seem to think the animal portrait is the image they seek. When they go on safari or journey to see the animals in their native environment, they’re still attempting animal portrait shots. But frankly, you can do this type of shot at the zoo more easily (and cheaply) than in the wild. And I'm not sure that doing it in the wild gives you all that much in the way of bragging rights.

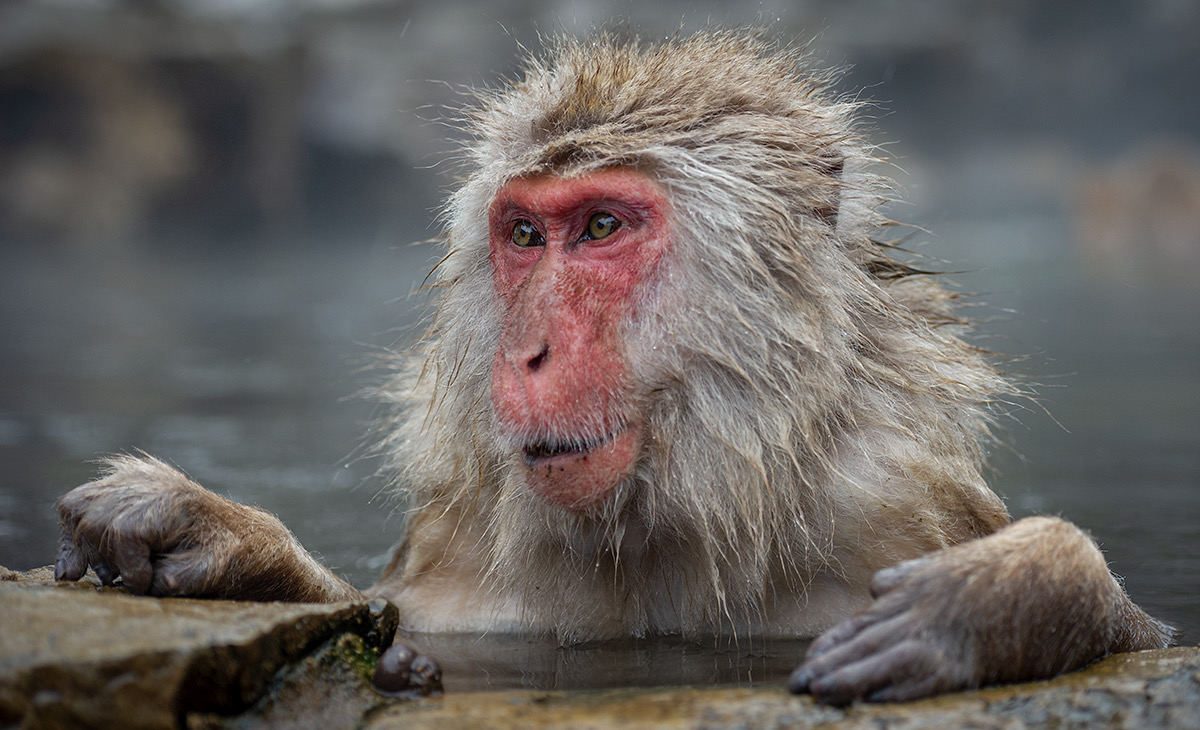
So what happens at the next level is an attempt to bring location into play. The above image has a tiny bit of sense of location to it. Many people will immediately recognize that this is the famous "Japanese Snow Monkey" in its environ. But take a close look at the out-of-focus background, though. There are at least two people standing back there, though I fought hard to remove them visually via defocus.
Indeed, most of you would probably be disappointed to find that the hot springs where the snow monkeys are usually photographed is really a man-made pool, with human paths around most of the cemented-in circumference.

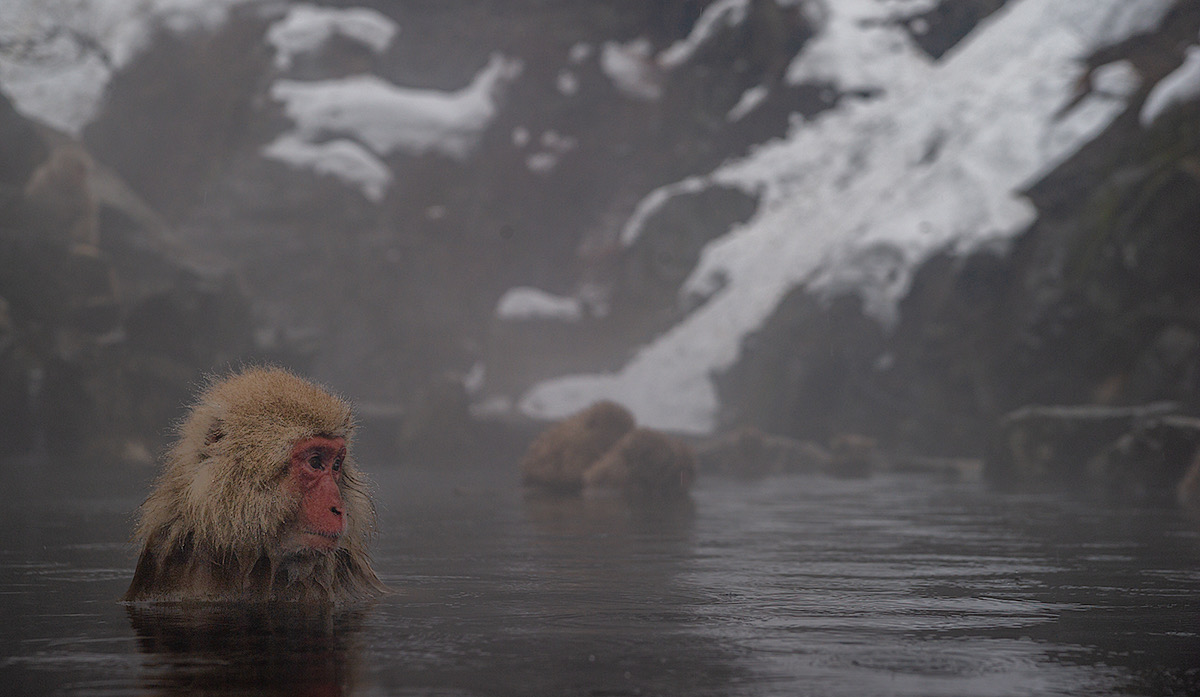
To suggest the location that most people think the snow monkeys are living in, you have to work hard at getting the image, but it can be done. I've eliminated all the "human" distractions in the above image and emphasized what it feels like to the monkey (in the water in a big, cold environment). It’s winter, it’s foggy, and it was dark when I took the shot.
I thought about bringing the monkey forward more in tonal value in this shot, but that’s not motivated by the lighting. Which means that you have two problems you’re combining: the “location” aspect of the shot works much like landscape photography, which is generally driven by light; the “animal” aspect of the shot has to place them within that landscape in a way that is natural.
Another common extension of the basic portrait shot is to try to show animal behavior. This one can be far trickier than it at first seems. So let’s start with “easy."
A common behavior of the snow monkey mothers is to shield their young almost to the point you'd think that the monkeys have a pouch like a kangaroo. A simple behavior, but some behaviors are very simple.
I was once trying to show what I thought were my best hyena photos to one of the pre-eminent hyena researchers. She didn't want to see those images, but she spotted another photo in my catalog I had dismissed and she wanted it immediately for a work she was doing about hyena behavior. I hadn't even known that I was capturing a behavior, but what was very interesting is that she was able to tell me exactly what was going on out of frame. I'll be danged.
This is an important lesson that you really need to take in: to shoot animal behaviors, you need to know a lot about the animal. This is one of the things we try to emphasize at my workshops: both the local guides I use and I spend a lot of time trying to anticipate animal behavior and relate that to the students.

The above image, though not a behavior shot, was made because I anticipated what the animal was going to do. Indeed, there were seven vehicles following this leopard when I told my driver to move a couple of hundreds yards to a very specific spot. Why? Because I had figured out what she wanted to do and where she was going, and I knew I could get her pretty much head on without distractions if we were just sitting there. The other vehicles all thought I was nuts, because I was moving away from the leopard. One of the smartest drivers of our other vehicles immediately radioed to ask what I was doing; he knew I understood cat behaviors and must be anticipating something (she eventually went to an old lion kill site and poked around).
But the real thing we're always looking for with wildlife is a "story shot." A shot that immediately says something other than "thing and place" to the viewer. Like this one:
No, that snow monkey is not dead, though when I saw that, that was the story that immediately came to mind: snow monkey autopsy ;~). Basically, when a shot names itself in your head like that, that's usually when you know you have a story shot.
Finally, here's a bit of a combo shot from the session I’m illustrating here. It started out as an attempt at doing an over-the-shoulder location shot, but I guess I made too much noise moving up and the monkey turned to me with that expression, which starts to add a bit of story. Not enough story for me, but it gave me ideas that I then spent hours pursuing.
So, in order of increasing difficulty:
- Reference shot (full animal)
- Portrait (partial animal)
- Behavior (animal doing something)
- Location/environmental shot (animal in its natural habitat)
- Story shot (a complex interaction of the above; makes your viewer want to know what’s happening here)
So, what are you doing? Are you still taking reference shots and maybe portraits when you can get close enough?
If so, it's time to broaden your horizons and go further. Try to make the environment shot. Learn all about the animal you want to shoot before you go out and try to photograph it so you can recognize behaviors when you see them. And when you can get those shots down pat, go for telling a story, no matter how bizarre the story. It's those story shots that people go ooh and aah over.
Finally, for those of you interested in making money, it's the behavior, location, and story shots that you can still sell.
